In Brief: Block Printing
My day job is in its busy season right now, so posts may be a bit more spotty so I guess this is the start of an occasional series of posts?
I have a bunch of hobbies, but one of my favorite and most sporadic is block printing. There’s something really satisfying to me about the feel of a linoleum cutter gliding through a block of rubber.
So, here’s a couple shots of a recent block I’ve basically finished.
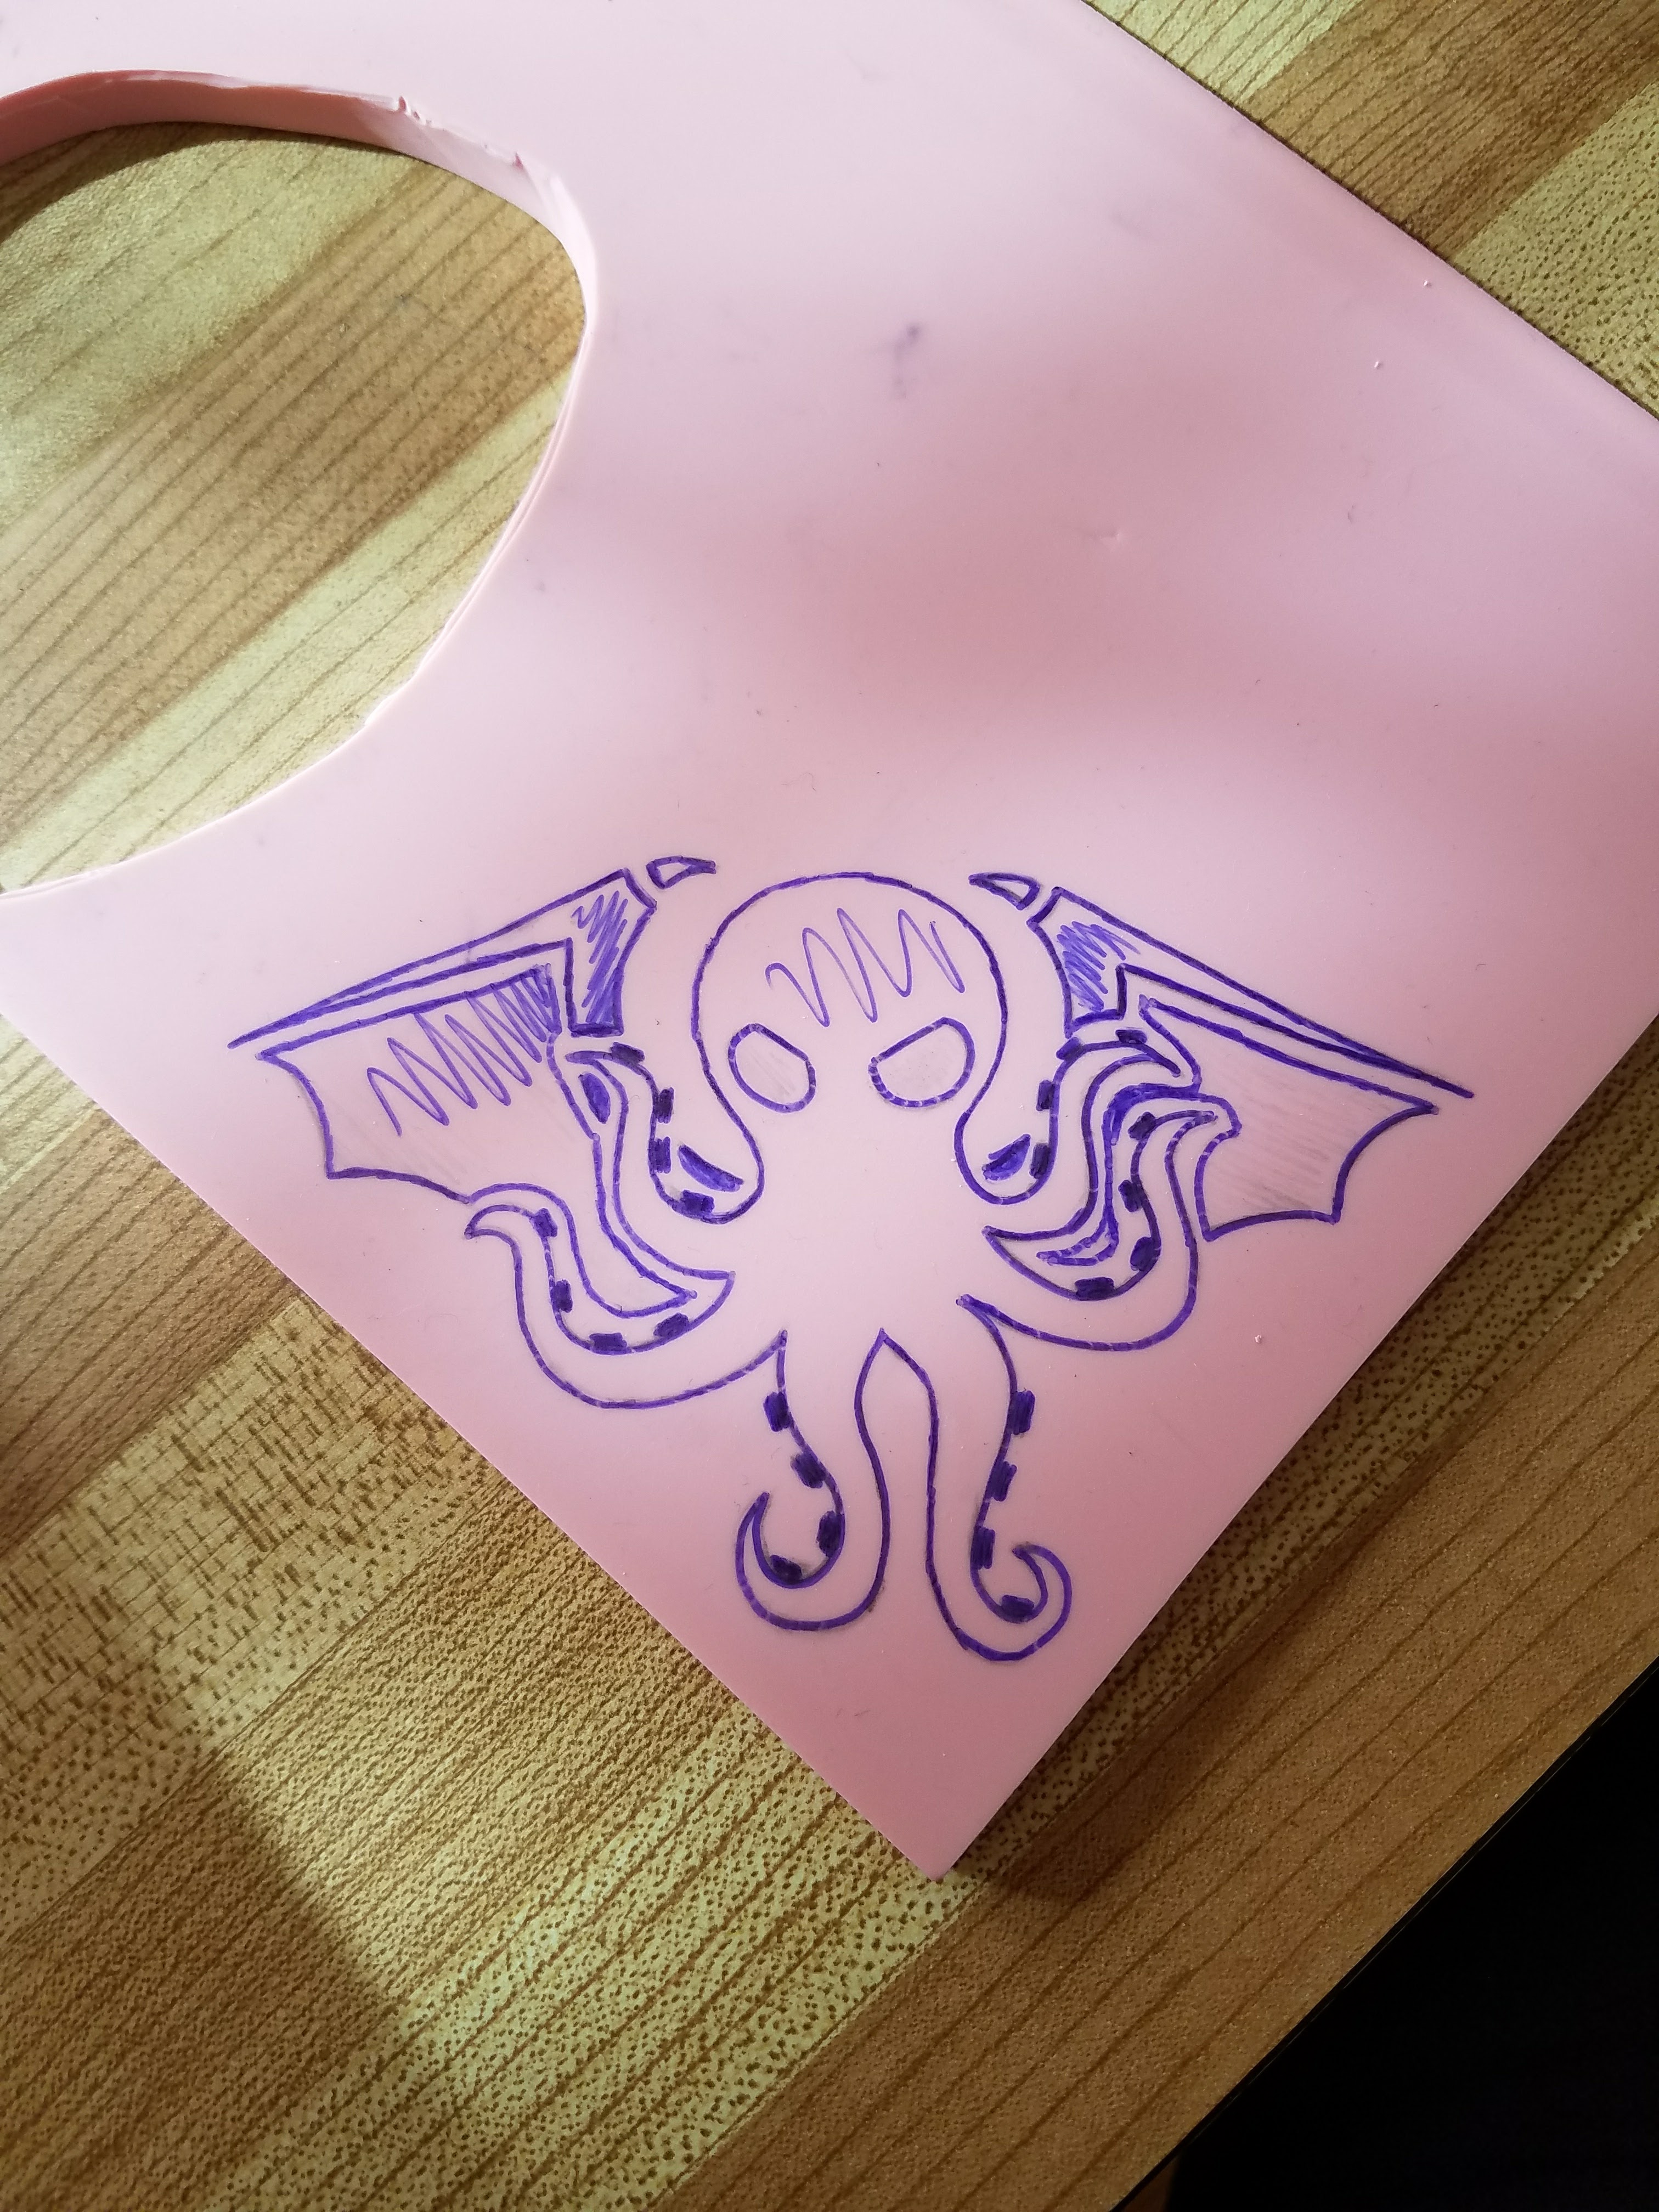
Usually my blocks start with a pencil drawing on paper that gets transferred to my printing medium and drawn in with something more lasting for the carving process. This one was no different, especially because I went back over the head half a dozen times before it looked alright to me. I’ve found that ballpoint pen ink and Sharpie marker work best on the printing medium I use (and Micron pens will just come off on your hands).
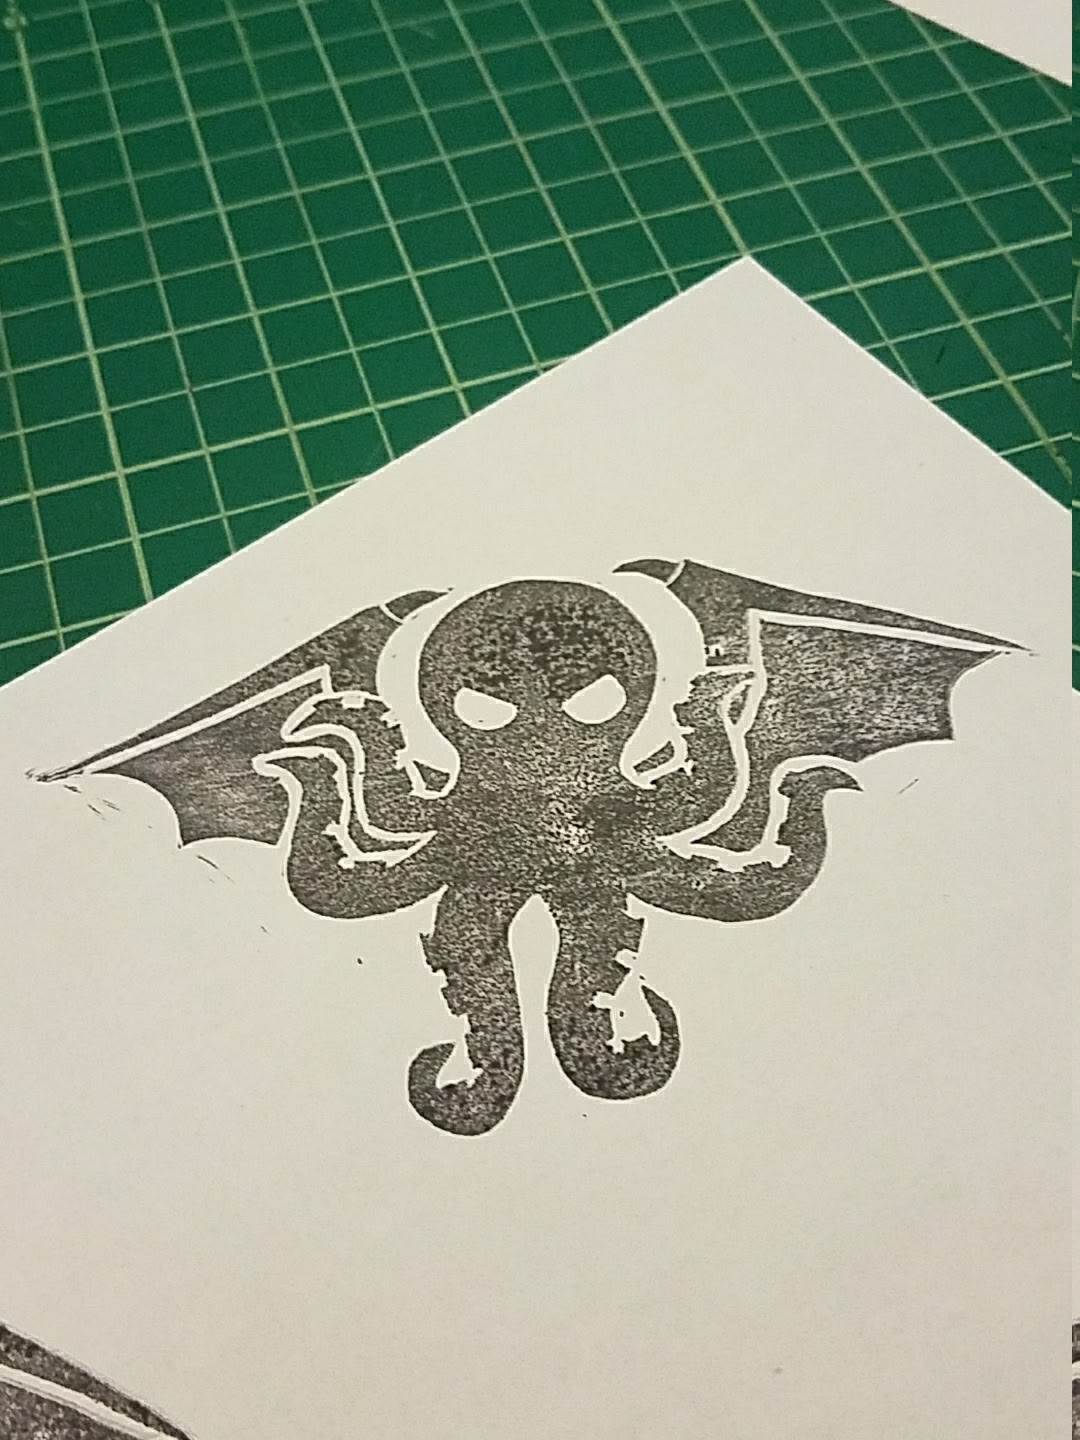
When I do proper prints, I do actually use block printing ink, rolled on with a soft rubber brayer, but my test prints are usually done with a regular felt stamp pad. (Actually, my first test prints are usually done by just coloring on the areas of the stamp I’m interested in with a magic marker or highlighter.) I’ve found that the stamp pads produce much better prints with blocks that don’t have large inked areas where the ink can pool, which is what created the mottled effect in the test print above.
Shameless plug: if anyone is interested in owning a print of this image, postcard-sized prints will eventually be available on my Etsy shop.